
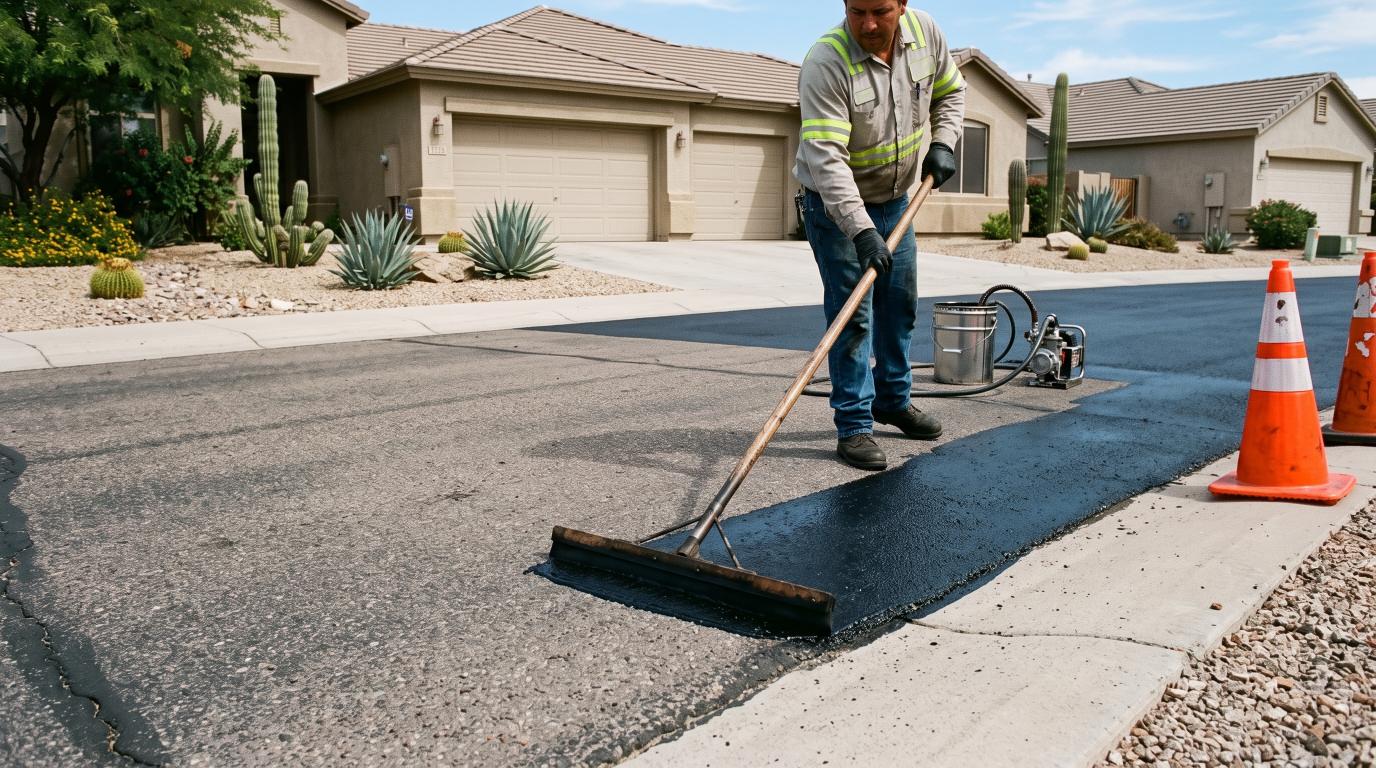
Learning how to seal coat a driveway starts with checking the asphalt surface, removing dirt and debris, repairing minor cracks, and choosing the right sealer. Proper preparation and application help create an even protective coating that reduces everyday surface wear. Weather conditions, pavement temperature, and drying time also affect the final result. Applying sealcoat over wet asphalt or damaged pavement can lead to poor adhesion and an uneven finish. This step-by-step guide explains how to prepare an asphalt driveway, choose suitable materials, apply sealcoat correctly, and maintain the finished surface.
What Is Driveway Sealcoating and Why Does It Matter?
Driveway sealcoating is the process of applying a protective coating over an asphalt surface. The coating creates a thin barrier that helps protect the pavement from sunlight, water, oil, fuel, and everyday vehicle traffic. It can also restore the dark color of faded asphalt and make the driveway look cleaner. Sealcoating helps slow surface wear, but it does not repair serious pavement damage. Large cracks, potholes, sinking areas, or base problems should be fixed before sealcoating.
Benefits of Sealcoating an Asphalt Driveway
Sealcoating helps protect asphalt from oxidation caused by sunlight and air exposure. It can also reduce the amount of water that enters small surface openings and helps protect against some oil and fuel stains. A sealed driveway is often easier to clean because the surface becomes smoother and more uniform.
It can also improve the overall appearance of older asphalt by giving it a darker finish. When applied correctly, sealcoating may help extend the useful life of the pavement.
How Long Does Driveway Sealcoating Last?
A properly applied driveway sealcoat can often last for several years before another application is needed. The exact lifespan depends on the quality of the product, surface preparation, traffic, weather, drainage, and pavement condition.
Strong sunlight and frequent vehicle traffic can wear down a sealcoat faster, especially in areas with high summer temperatures. Standing water and poor drainage may also reduce how long the coating lasts. Regular surface inspections can help identify when another application may be appropriate.
When Is the Best Time to Sealcoat a Driveway?
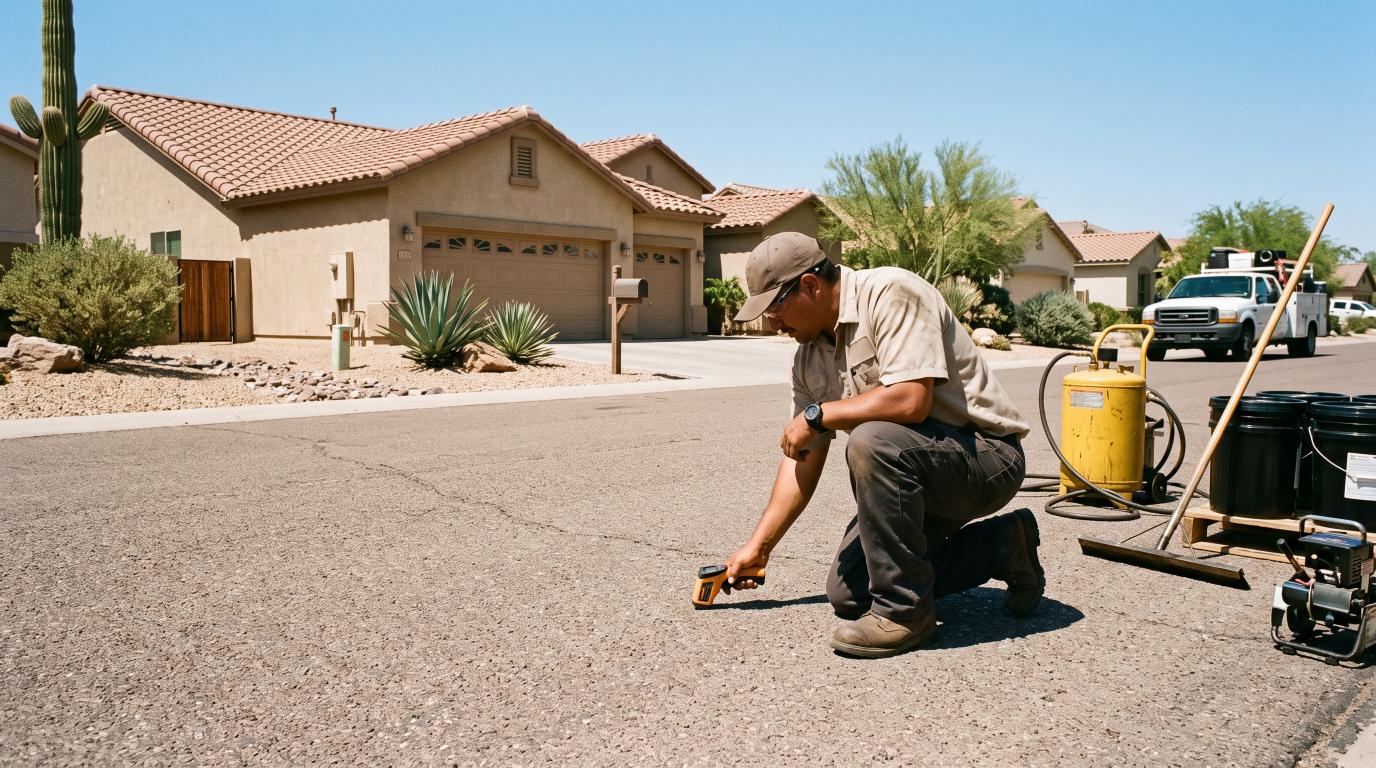
The best time to sealcoat a driveway is during warm, dry weather when both the air and pavement temperatures meet the sealer manufacturer’s requirements. In most cases, the surface should be completely dry, with no rain expected during the drying and curing period.
Warm temperatures can help the sealer spread evenly, bond with the asphalt, and dry properly when conditions meet the manufacturer’s requirements. Avoid applying sealcoat during cold, very humid, or rainy weather. Pavement temperature is just as important as air temperature, and extremely hot asphalt may cause some products to dry too quickly. Early morning or later in the day may be more suitable depending on the weather and product instructions.
Early morning or later in the day may be more suitable, depending on the product instructions. Always check the weather forecast and product label before starting so the driveway has enough dry time after application.
How to Tell If Your Driveway Is Ready for Sealcoating
Walk the full driveway before buying materials. Look at the surface color, texture, cracks, low spots, edges, and parking areas.
Signs Your Asphalt Needs Sealcoating: Faded color, a dry-looking surface, and early oxidation can show that the asphalt is losing protection. Minor cracks may also appear, but they should be repaired before sealcoating.
When a Driveway Needs Repairs Instead of Sealer: Large potholes, alligator cracking, sinking areas, broken edges, loose pavement, or repeated standing water may point to deeper problems. Sealer cannot correct structural failure.
How Long to Wait Before Sealing New Asphalt: New asphalt needs time to cure before it is sealed. The exact waiting period depends on the asphalt mix, climate, and contractor guidance, so do not seal a new driveway immediately.
What You Need to Sealcoat a Driveway
Having the right supplies ready before you start makes the job easier and helps you apply the coating correctly. Your exact materials may depend on the condition and size of your asphalt driveway.
|
What You Need |
What It Is Used For |
|
Driveway Sealer |
Creates the protective coating over the asphalt and helps reduce damage from sun, water, and normal wear. |
|
Crack Filler |
Repairs smaller cracks before sealcoating so water has less opportunity to enter the pavement. |
|
Asphalt Repair Material |
Helps repair small potholes or damaged spots that should not be covered with sealer alone. |
|
Broom or Leaf Blower |
Removes loose dirt, leaves, dust, and debris before washing or applying the coating. |
|
Asphalt-Safe Cleaner |
Helps remove oil, grease, and other stains that may prevent the sealer from bonding properly. |
|
Squeegee or Sealcoating Brush |
Spread the sealer across the driveway in a smooth and even layer. |
|
Mixing Tool |
Helps mix the sealer so the material has a consistent texture before application. |
|
Gloves and Eye Protection |
Protects your skin and eyes while cleaning, repairing, mixing, and applying a sealcoat. |
|
Tape or Protective Covering |
Helps protect concrete, garage floors, walls, curbs, and other nearby surfaces from stains. |
|
Cones or Barricade Tape |
Keeps people and vehicles away from the driveway while the coating dries and cures. |
Always check the driveway sealer label before buying your supplies. Some products require specific tools, preparation methods, temperatures, or application techniques.
How to Prepare Your Driveway for Sealcoating
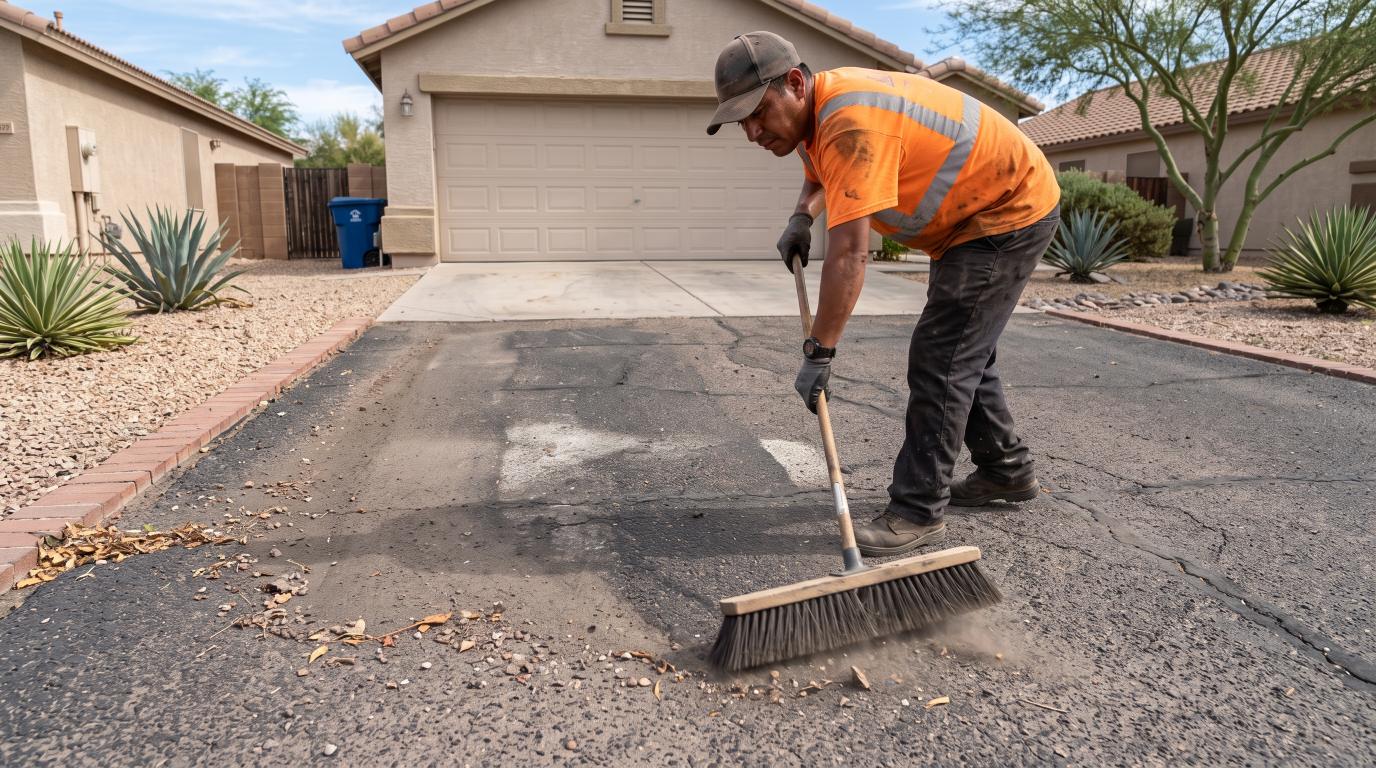
Preparing the driveway properly is one of the most important steps before applying sealer. Start by sweeping away dirt, leaves, dust, and loose debris from the entire surface, including cracks, edges, joints, and low spots. Remove weeds and grass growing along the sides or through small cracks, and clean any oil or grease stains with a product that is safe for asphalt.
A clean surface helps the sealer bond evenly and reduces the chance of weak or patchy areas. Next, repair small cracks and minor potholes before sealcoating, and allow the repair material to cure as directed. Sealcoat is designed to protect the surface, not replace proper asphalt repairs.
After cleaning and repairs are complete, make sure the driveway is fully dry before applying sealer. Pay extra attention to shaded areas, cracks, and low spots because they can hold moisture longer than the rest of the pavement.
How to Seal Coat a Driveway Step by Step
Once the driveway is clean, dry, and repaired, you can begin applying the sealcoat. The process is simple, but each step matters because poor preparation or uneven application can affect how well the coating protects the asphalt. Work carefully, follow the product instructions, and make sure the weather stays dry during the application and curing period.
Step 1: Check the Driveway Condition
Walk over the entire driveway before opening the sealer. Look for wet spots, loose debris, open cracks, small potholes, or repair material that has not fully cured. Check the edges and low areas where dirt or water may collect. If you find any problems, correct them before moving forward so the sealer can bond to a clean and stable surface.
Step 2: Clean the Asphalt Thoroughly
Even if you cleaned the driveway earlier, give it one final sweep before applying the coating. Use a stiff broom or leaf blower to remove dust, leaves, sand, and dirt that may have settled on the surface. Pay close attention to cracks, edges, and areas near the garage. Any loose material left behind can become trapped under the sealcoat and create an uneven finish.
Step 3: Fill Cracks and Repair Damage
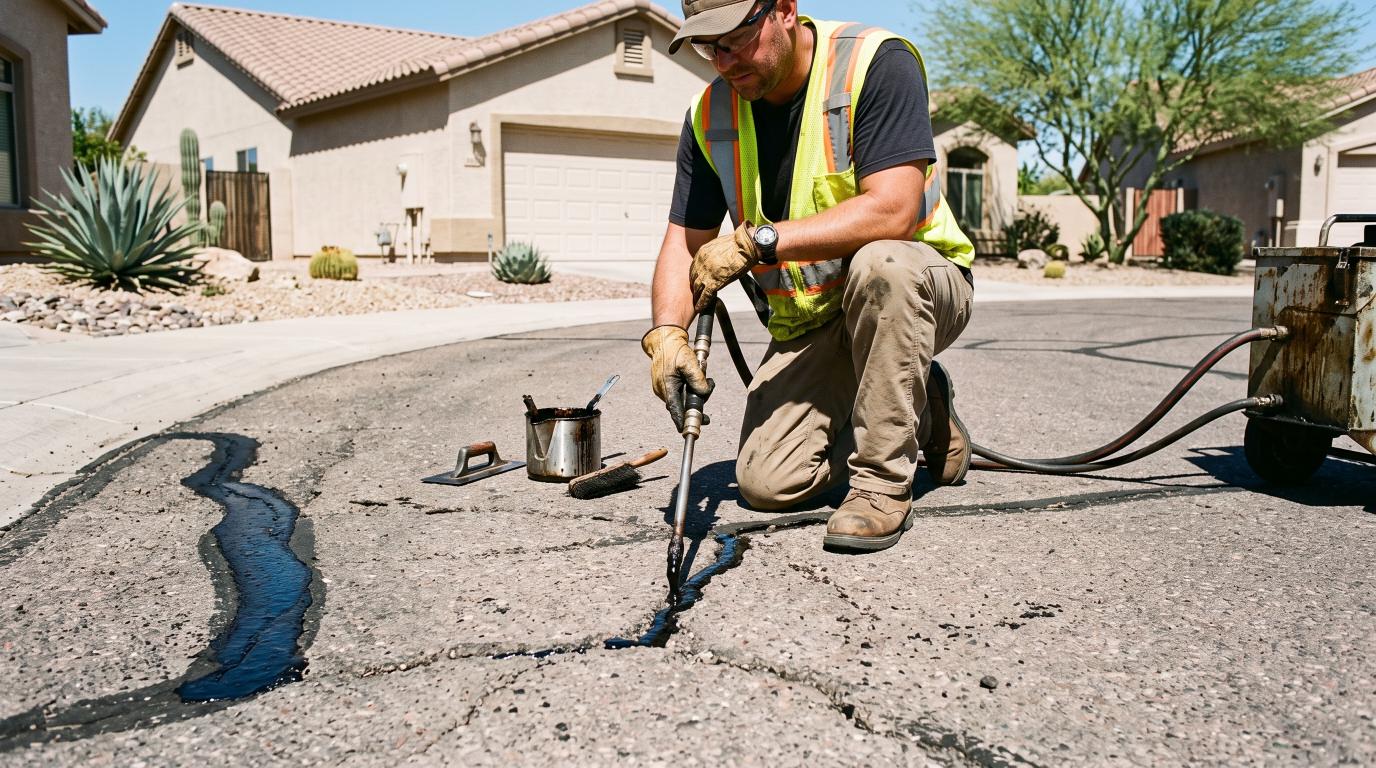
Check that all minor cracks and small damaged areas have been repaired before sealcoating. Use the correct asphalt repair product and allow it to cure for the full time listed by the manufacturer. Do not apply sealer over filler that is still soft, sticky, or wet. Large cracks, potholes, or sinking pavement may need more complete repair before sealcoating should be considered.
Step 4: Choose the Right Driveway Sealer
Select a sealer that is made specifically for asphalt driveways and suitable for your climate and pavement condition. Read the label carefully for coverage, temperature limits, drying time, and the recommended number of coats. Mix the product as directed so the material has an even consistency. Do not add water or other materials unless the manufacturer specifically allows it.
Step 5: Protect Edges and Nearby Surfaces
Before pouring the sealer, protect surfaces that you do not want to stain. This may include garage floors, concrete sidewalks, curbs, walls, decorative stone, doors, and nearby landscaping. Use tape, plastic covering, or another protective material where needed. Taking a few extra minutes to protect these areas can prevent difficult cleanup later.
Step 6: Apply the First Coat of Sealer
Begin at the farthest point of the driveway and work toward the street or your planned exit. Pour a small amount of sealer onto the asphalt instead of covering a large area at once. This gives you more control and helps prevent the material from drying before it is spread. Work in manageable sections so you can keep the coating consistent from one area to the next.
Step 7: Spread the Sealer Evenly
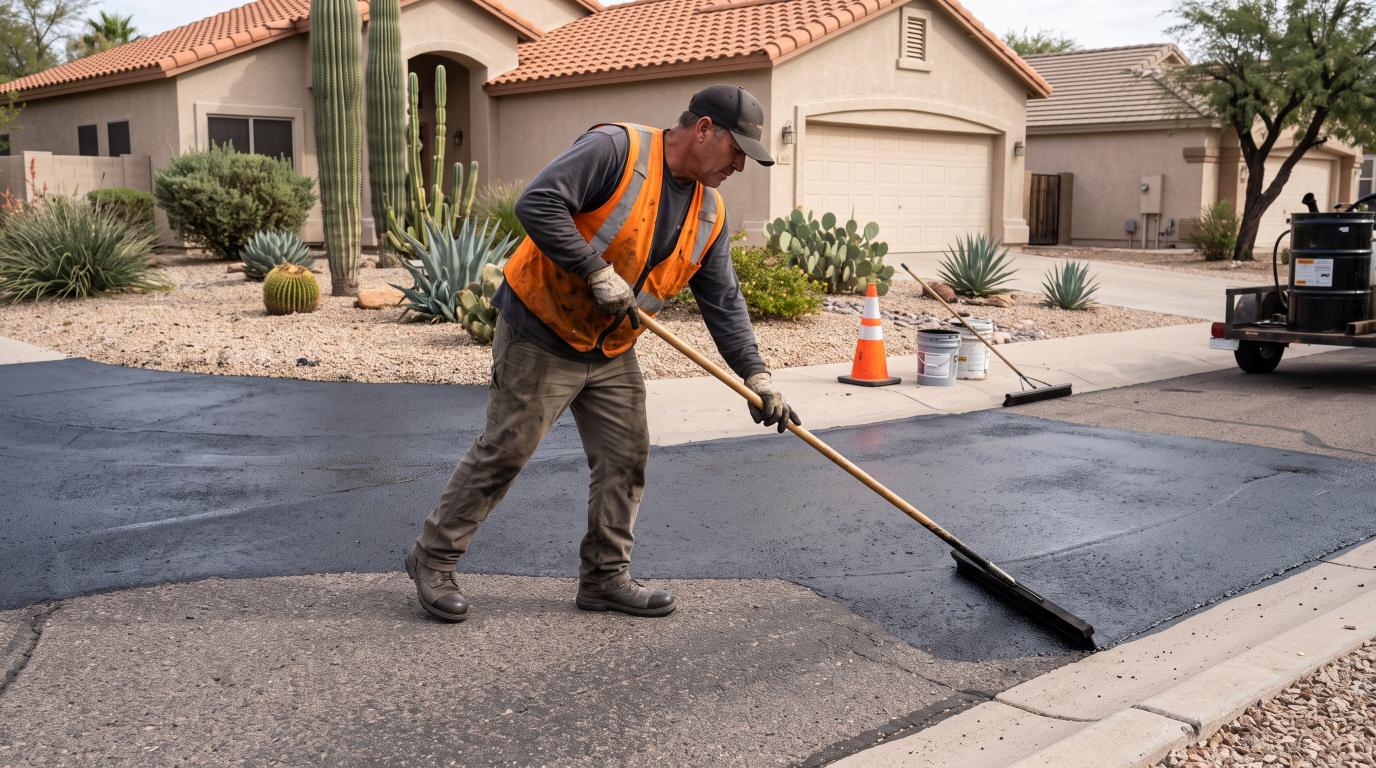
Use a squeegee, brush, or other applicator recommended by the product manufacturer. Spread the material in a thin, even layer using steady strokes. Make sure the asphalt is fully covered, but avoid leaving puddles, ridges, or thick spots. Try to blend each new section into the previous one while the material is still workable so the finished surface looks uniform.
Step 8: Allow the Sealcoat to Dry and Cure
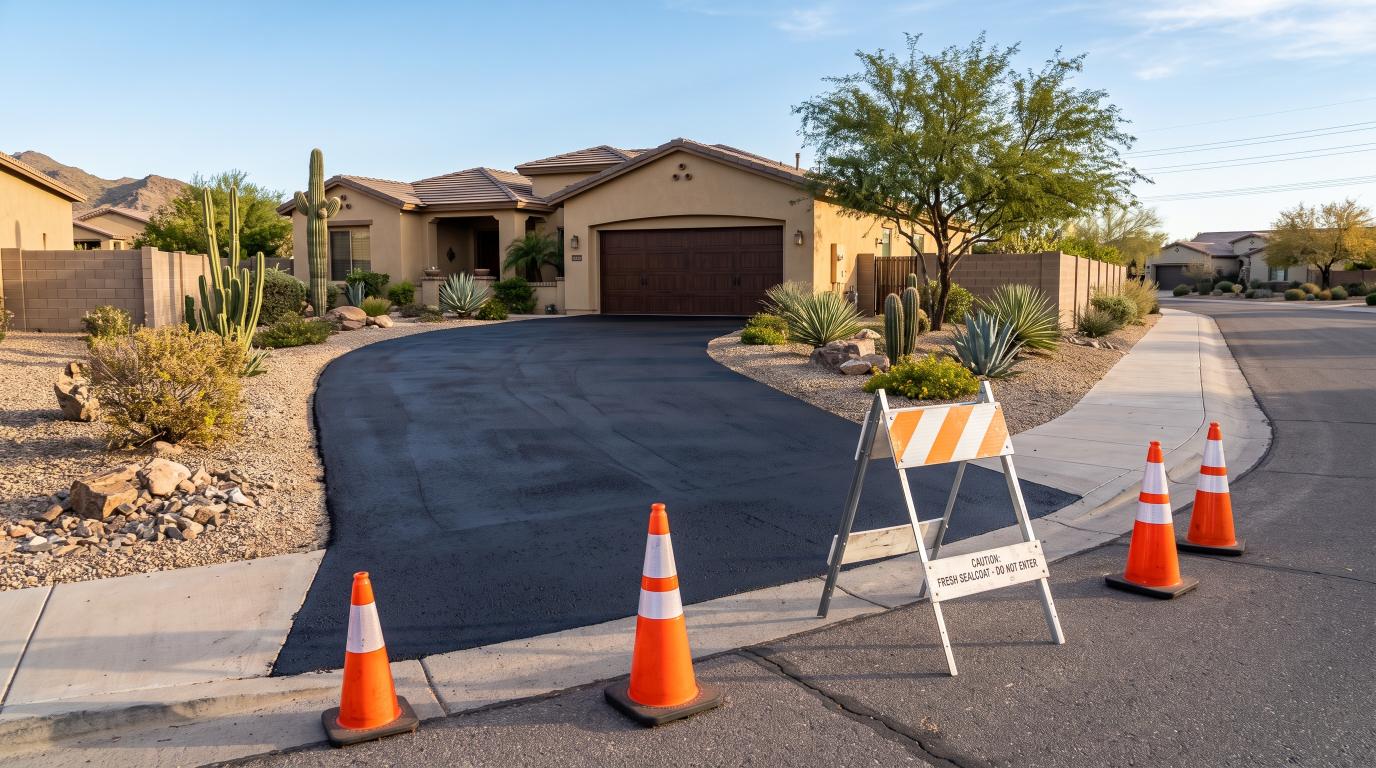
After the first coat is applied, keep people, pets, bicycles, and vehicles off the driveway. Drying and curing times can change based on temperature, humidity, shade, and the type of product used. The surface may look dry before it is strong enough for vehicle traffic. Follow the manufacturer’s instructions and give the sealcoat extra time if the weather is cool or humid.
DIY Driveway Sealcoating vs. Hiring a Professional
DIY driveway sealcoating may be suitable for a small asphalt surface with minor wear and no significant structural damage. The right approach depends on pavement condition, preparation requirements, available equipment, and the homeowner’s experience.
Advantages of DIY Sealcoating: Homeowners may reduce labor costs by cleaning the surface, repairing minor cracks, and applying a suitable driveway sealer themselves. Following the product instructions is important for proper application.
When Professional Sealcoating May Be Appropriate: Extensive cracking, recurring potholes, drainage problems, or deteriorating pavement may require a professional assessment before any protective coating is applied.
What Affects Professional Sealcoating Costs: Pricing generally depends on surface area, pavement condition, preparation, materials, number of coats, and local labor rates. Costs vary by project and location.
How Long Does Driveway Sealer Take to Dry?
Driveway sealer usually needs several hours to become dry to the touch, but full curing takes much longer. The exact drying time depends on the type of sealer, temperature, humidity, sunlight, shade, and how thick the coating was applied. Warm, dry weather usually helps the surface dry faster, while cool or humid conditions can slow the process. Always follow the drying time listed by the product manufacturer before allowing anyone onto the driveway.
Foot traffic may be allowed sooner than vehicle traffic, but cars should stay off the surface until the sealcoat has cured enough to handle weight and tire movement. In many cases, this means keeping vehicles off the driveway for at least 24 to 48 hours, depending on the product and weather. If the surface still feels soft, sticky, or leaves marks, give it more time before using it. Rain during the early drying period can also damage fresh sealer, so choose a dry weather window before starting.
Common Driveway Sealcoating Mistakes to Avoid
Even good-quality driveway sealers can perform poorly when the surface is not prepared correctly. Avoiding a few common mistakes can improve the finish and help the coating last longer.
- Sealing a dirty or wet surface: Dirt, dust, and moisture can prevent the sealcoat from bonding correctly. Clean the asphalt carefully and make sure it is fully dry before you begin.
- Applying sealer in poor weather: Rain, cold temperatures, or extreme heat can affect how the coating dries and cures. Check the product requirements and weather forecast before starting.
- Skipping crack repairs: Sealcoat is not designed to fill open cracks. Repair suitable cracks first and give the repair material enough time to cure before applying the coating.
- Applying too much sealer: A thick coat does not always offer better protection. Heavy layers can dry slowly, stay soft, or wear unevenly over time.
- Sealing severely damaged asphalt: Large potholes, sinking areas, widespread cracking, or weak pavement need repair before sealcoating. A surface coating cannot correct structural problems.
- Allowing traffic too soon: Walking or driving on fresh sealcoat can leave marks and damage the finish. Keep the driveway closed until the product has completed its recommended drying and curing period.
How to Maintain a Sealed Asphalt Driveway
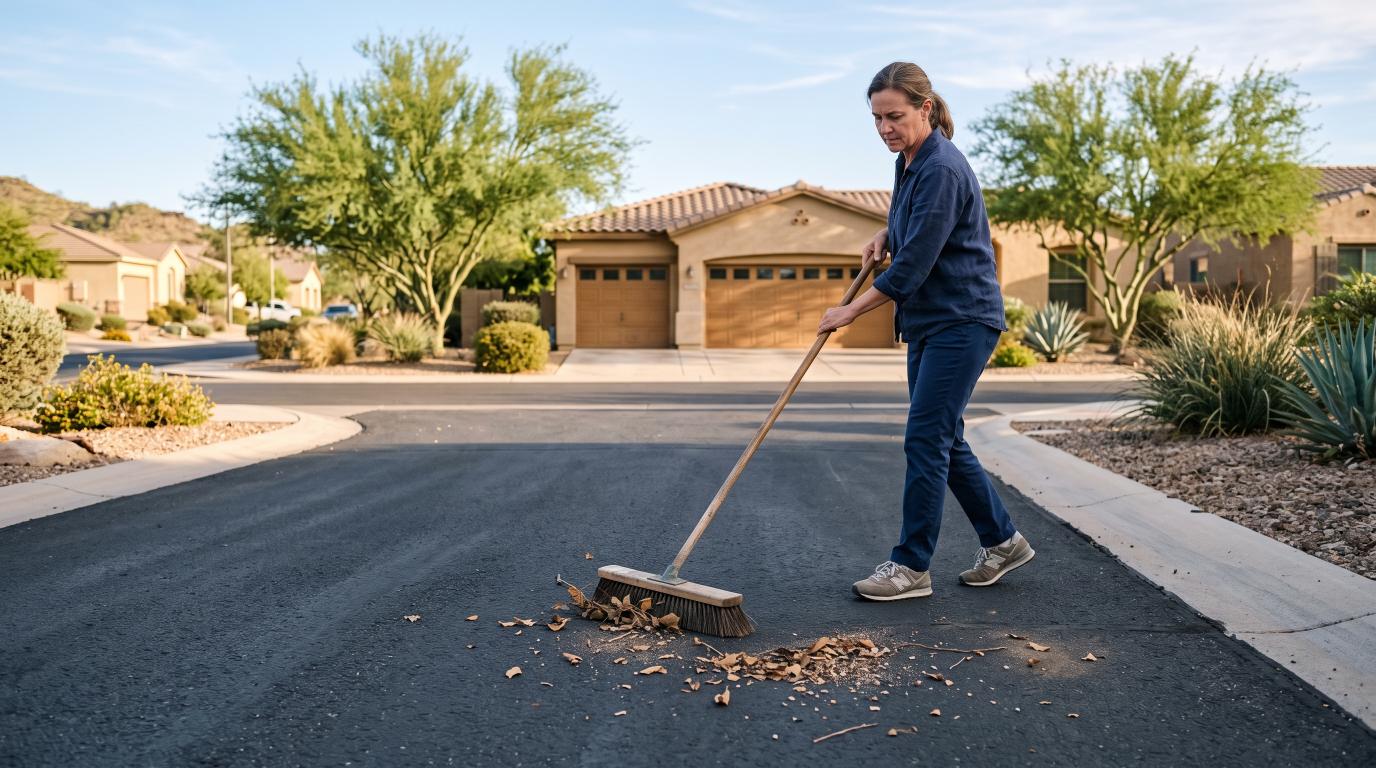
Maintaining a sealed asphalt driveway starts with regular cleaning and quick attention to small problems. Remove leaves, dirt, and debris before they collect along the edges or block drainage. Clean oil, fuel, and other spills as soon as possible with products that are safe for asphalt.
You should also check the surface from time to time for new cracks, worn spots, or areas where water begins to pool. Small cracks should be repaired early before they grow and allow more water into the pavement. Keep nearby drains and edges clear so rainwater can move away from the driveway instead of sitting on the surface.
Avoid unnecessary heavy loads or sharp turning when the sealcoat is still new. Regular inspections and timely maintenance can help the coating last longer and protect the asphalt underneath.
How Often Should You Sealcoat Your Driveway?
The right schedule depends on how quickly the surface ages. A lightly used driveway may need less frequent coating than one exposed to heavy traffic and harsh weather.
Factors That Affect Sealcoat Life: Preparation, material quality, coat thickness, drainage, traffic, and previous repairs all affect how long the coating performs.
Climate and Weather Exposure: Sunlight, rain, moisture, and temperature changes can gradually wear down a protective coating. Areas exposed to intense sunlight or extreme pavement temperatures may require closer monitoring for signs of deterioration.
Traffic and Vehicle Use: Frequent vehicles, heavy loads, turning tires, and parked cars can increase wear. High-use areas may age faster than other sections.
Asphalt Age and Condition: Older asphalt may have more oxidation and cracking. If the pavement is already failing, another coat of sealer may not be the best solution.
Conclusion
Knowing how to seal coat a driveway involves more than applying a protective layer. Cleaning the asphalt, repairing minor cracks, selecting the appropriate product, and following the recommended drying time all contribute to a better finish.
Regular inspections and proper maintenance can help preserve a sealed asphalt surface. However, sealcoating cannot correct deep potholes, widespread cracking, drainage problems, or structural pavement failure. These conditions should be evaluated before another coating is applied.
Keep Your Asphalt Driveway in Good Condition
A properly maintained asphalt driveway can better withstand everyday traffic, sunlight, and moisture. Regular cleaning, early crack repairs, and sealcoating at appropriate intervals may help reduce surface deterioration. Before applying another coat, inspect the pavement for potholes, standing water, loose material, or widespread cracking. Sealcoating is intended to protect a stable asphalt surface, not repair structural damage. Use the preparation and application steps in this guide to understand the sealcoating process. For extensive pavement damage, consult a qualified asphalt professional to determine whether repairs are necessary before sealing.
Frequently Asked Questions
Can I Sealcoat My Driveway Myself?
Yes, many homeowners can sealcoat a small asphalt driveway if the pavement is still in good condition. The most important steps are thorough cleaning, minor repairs, and choosing the right weather. If the asphalt has major cracks, potholes, or drainage problems, professional help may be a better option.
How Many Coats of Driveway Sealer Should I Apply?
The correct number of coats depends on the sealer you choose and the condition of the pavement. Some products work with one coat, while others recommend two thin coats for better coverage. Always follow the manufacturer’s instructions instead of adding extra material on your own.
Can You Sealcoat a Driveway With Cracks?
You can sealcoat a driveway with minor cracks, but the cracks should be repaired before the sealer is applied. Sealcoat creates a protective surface layer and is not a substitute for crack filler. Larger or spreading cracks may need a professional inspection before maintenance begins.
Can You Sealcoat Over an Old Sealcoat?
In many cases, you can apply a new sealcoat over an older coating if the existing layer is still firmly attached. The driveway should be cleaned, and loose or peeling areas may need preparation first. Make sure the new product is compatible with the coating already on the pavement.
What Temperature Is Too Cold for Driveway Sealing?
The minimum temperature depends on the specific driveway sealer you are using. Many products require warm air and pavement temperatures so the material can dry and cure correctly. Always check the label because applying sealer below the recommended temperature can lead to poor results.
Can You Sealcoat Before Rain?
You should only sealcoat when there is enough dry weather for the material to set before rain arrives. Rain that falls too soon can wash away or damage fresh coating. Check both the weather forecast and the manufacturer’s required drying time before starting the job.
How Long Should You Stay Off a Sealed Driveway?
Stay off the driveway for the full period recommended by the product manufacturer. Walking may be allowed sooner than driving because vehicles put much more pressure on fresh coating. If the surface still feels soft or tacky, give it additional curing time.